The Kratky Method
If you’re just starting out and want to give hydroponic growing a go, check out the Kratky Method. It's got to be the least hands-on approach to growing hydroponically and is great for people who want to get a feel for growing hydroponically long term. The Kratky Method has no moving parts, so there's no electricity necessary, and you don’t even need to install a wick.
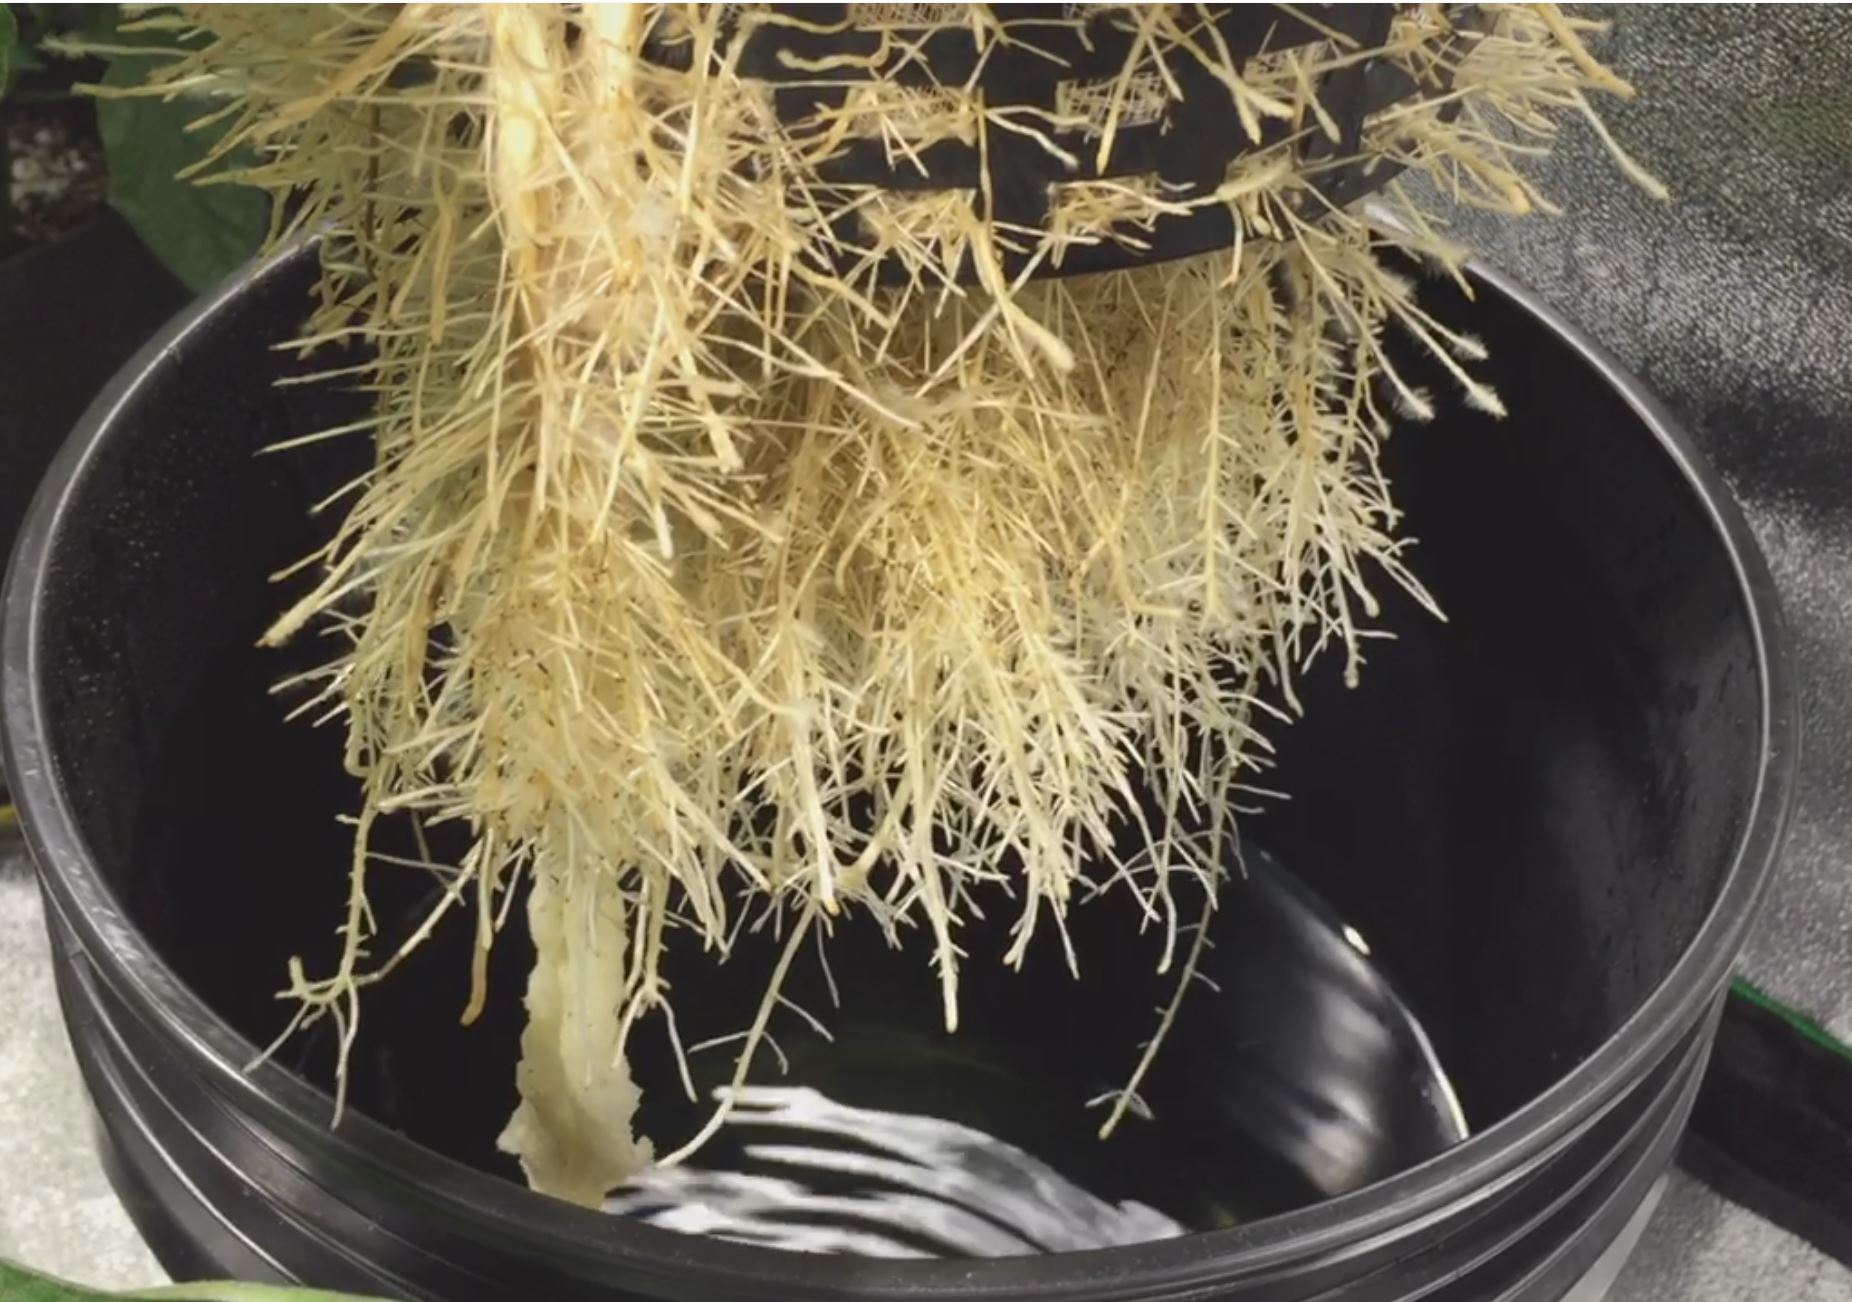
The Kratky Method hydroponics system
Chances are you found this page via Google (well done, you've come to the right place). You've stumbled across The Kratky Method before and want to know which equipment you need to buy and how to create your own. Hydroponics can feel overwhelming at times but this is the best way to dip your toe. Let's begin - here's the equipment you need.


Dr Kratky and Hydroponics
The Kratky Method is a passive hydroponics system first described by Professor B.A. Kratky from the University of Hawaii. You can read the full paper where Professor Kratky describes the process here but the premise is as follows.
Your plants will draw up their nutrient solution and as a consequence, the growing media moistens by capillary action preventing the rest of the root system drying out. As the plants continue to grow, they absorb an increasing amount of nutrient solution which lowers the water level. Maintaining access to the nutrient solution supply opens up a gradually larger air cavity which the roots use to absorb oxygen and carbon dioxide. The simplicity of The Kratky Method means substantial growth will only be seen in more basic crops with small fruit such as strawberries or chillies, leafy greens or a hydroponic grower's favorite veg - lettuce. Cultivars will typically take six to seven weeks before they're harvested.
We'll start with the equipment you need. The joys of The Kratky Method mean the sophistication of the materials are moderate and accessible to everyone. We've done the work for you, click on these links and you'll be taken to Amazon where you can buy the products.
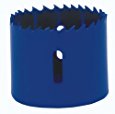
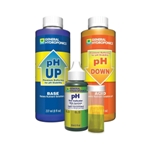
First is the reservoir. This one's sturdier than the empire state and won't let any light penetrate the water, preventing nasty algal growth. Next is thenetpot which holds your media and plants. This is where the magic happens. You'll need to drill some holes into the lid of the reservoir for those netpots to fit in. They need to be the same size as the pots (3 inches), it's not rocket science so let's not make it trickier than it needs to be. Here's the drill bit if you don't have it, clay pebbles for the media, starter cubes for propagation, and the 3-part liquid nutrient solution so your plants can feast.
Implementation of Kratky Method
Here's a video of Peter Stanley creating his Kratky Method from start to finish.
You need a reservoir containing water and dissolved nutrients, termed the nutrient solution, which can be a suitably sized safe-for-food bucket or tub. Supposedly, a salad needs a minimum of one gallon or four and a half litres of water over its lifespan. Sit the reservoir on a flat surface, where the temperature can be controlled.
On top of the reservoir will fit the lid. Either cut or drill holes into the lid to fit your net pots or buy the lid with the net pots already incorporated into the structure. Peter's used a drill saw in the example. You'll notice there's an extra hole Peter cuts and fills with a sponge. This is for better air transfer between the the outside and inside of the system.
Transplant three to five seeds you’re growing into the holes of some starter cubes and place them into the net pots. Next will go your growing media. The media will comprise a material which can absorb the nutrient solution to keep the root system moist and be inert to maintain a neutral pH, for example, clay pellets.
We've written an article on some of the potential growing media types you could use in you hydroponics systems, be sure to check it out so you can make an informed decision. Peter uses pre-washed clay balls which he surrounds the starter cubes with to prop them up vertically.
Fill the reservoir with the solution until the water level's high enough that it'll cover about half an inch of the net pots and the starter cubes absorb the nutrient solution. This is where the capillary action creates a damp environment for the seeds to germinate.
To start with, keep the light source on for 24 hours until the plant starts to sprout. Once sprouted, place the light on a timer and keep it on for approximately 10 to 12 hours per day.
Remember you added three to five seeds into the starter cubes? Once they begin to grow you're going to need to thin them. This basically means you need to remove the all but the healthiest plants from the starter cube as soon as they can support their own weight to provide the best chance of survival for one plant per net pot. You minimise root disturbance, increase air circulation and allow for the best nutrient uptake.
If you live in an area where mosquitoes are an issue, you'll understand there's the potential for them to lay eggs in the stagnant water of the Kratky Method. Don't worry though, here at Oysoco, we never let our readers down. In fact, we've tracked down a video by the man himself, Professor Kratky, on how to prevent a mosquito infestation.
He suggests laying down the pvc/fibreglass insect mesh screen you'd typically get to use as a fly screen/insect screen to cover the window openings in your home, across the reservoir. This material usually has 1 - 1.5mm2 holes. You only want to submerge the fiberglass screen half an inch under the nutrient solution level so the net pots can get the initial moisture for germination. The plants will quickly consume the half inch and their roots will grow through the mesh of the fiberglass to reach the rest of the solution.
In theory, mosquitoes could lay their eggs in the half inch above the mesh, so Professor Kratky proposes planting with two-week-old plants so their capacity to absorb the solution quickens.
An Example of the kratky method
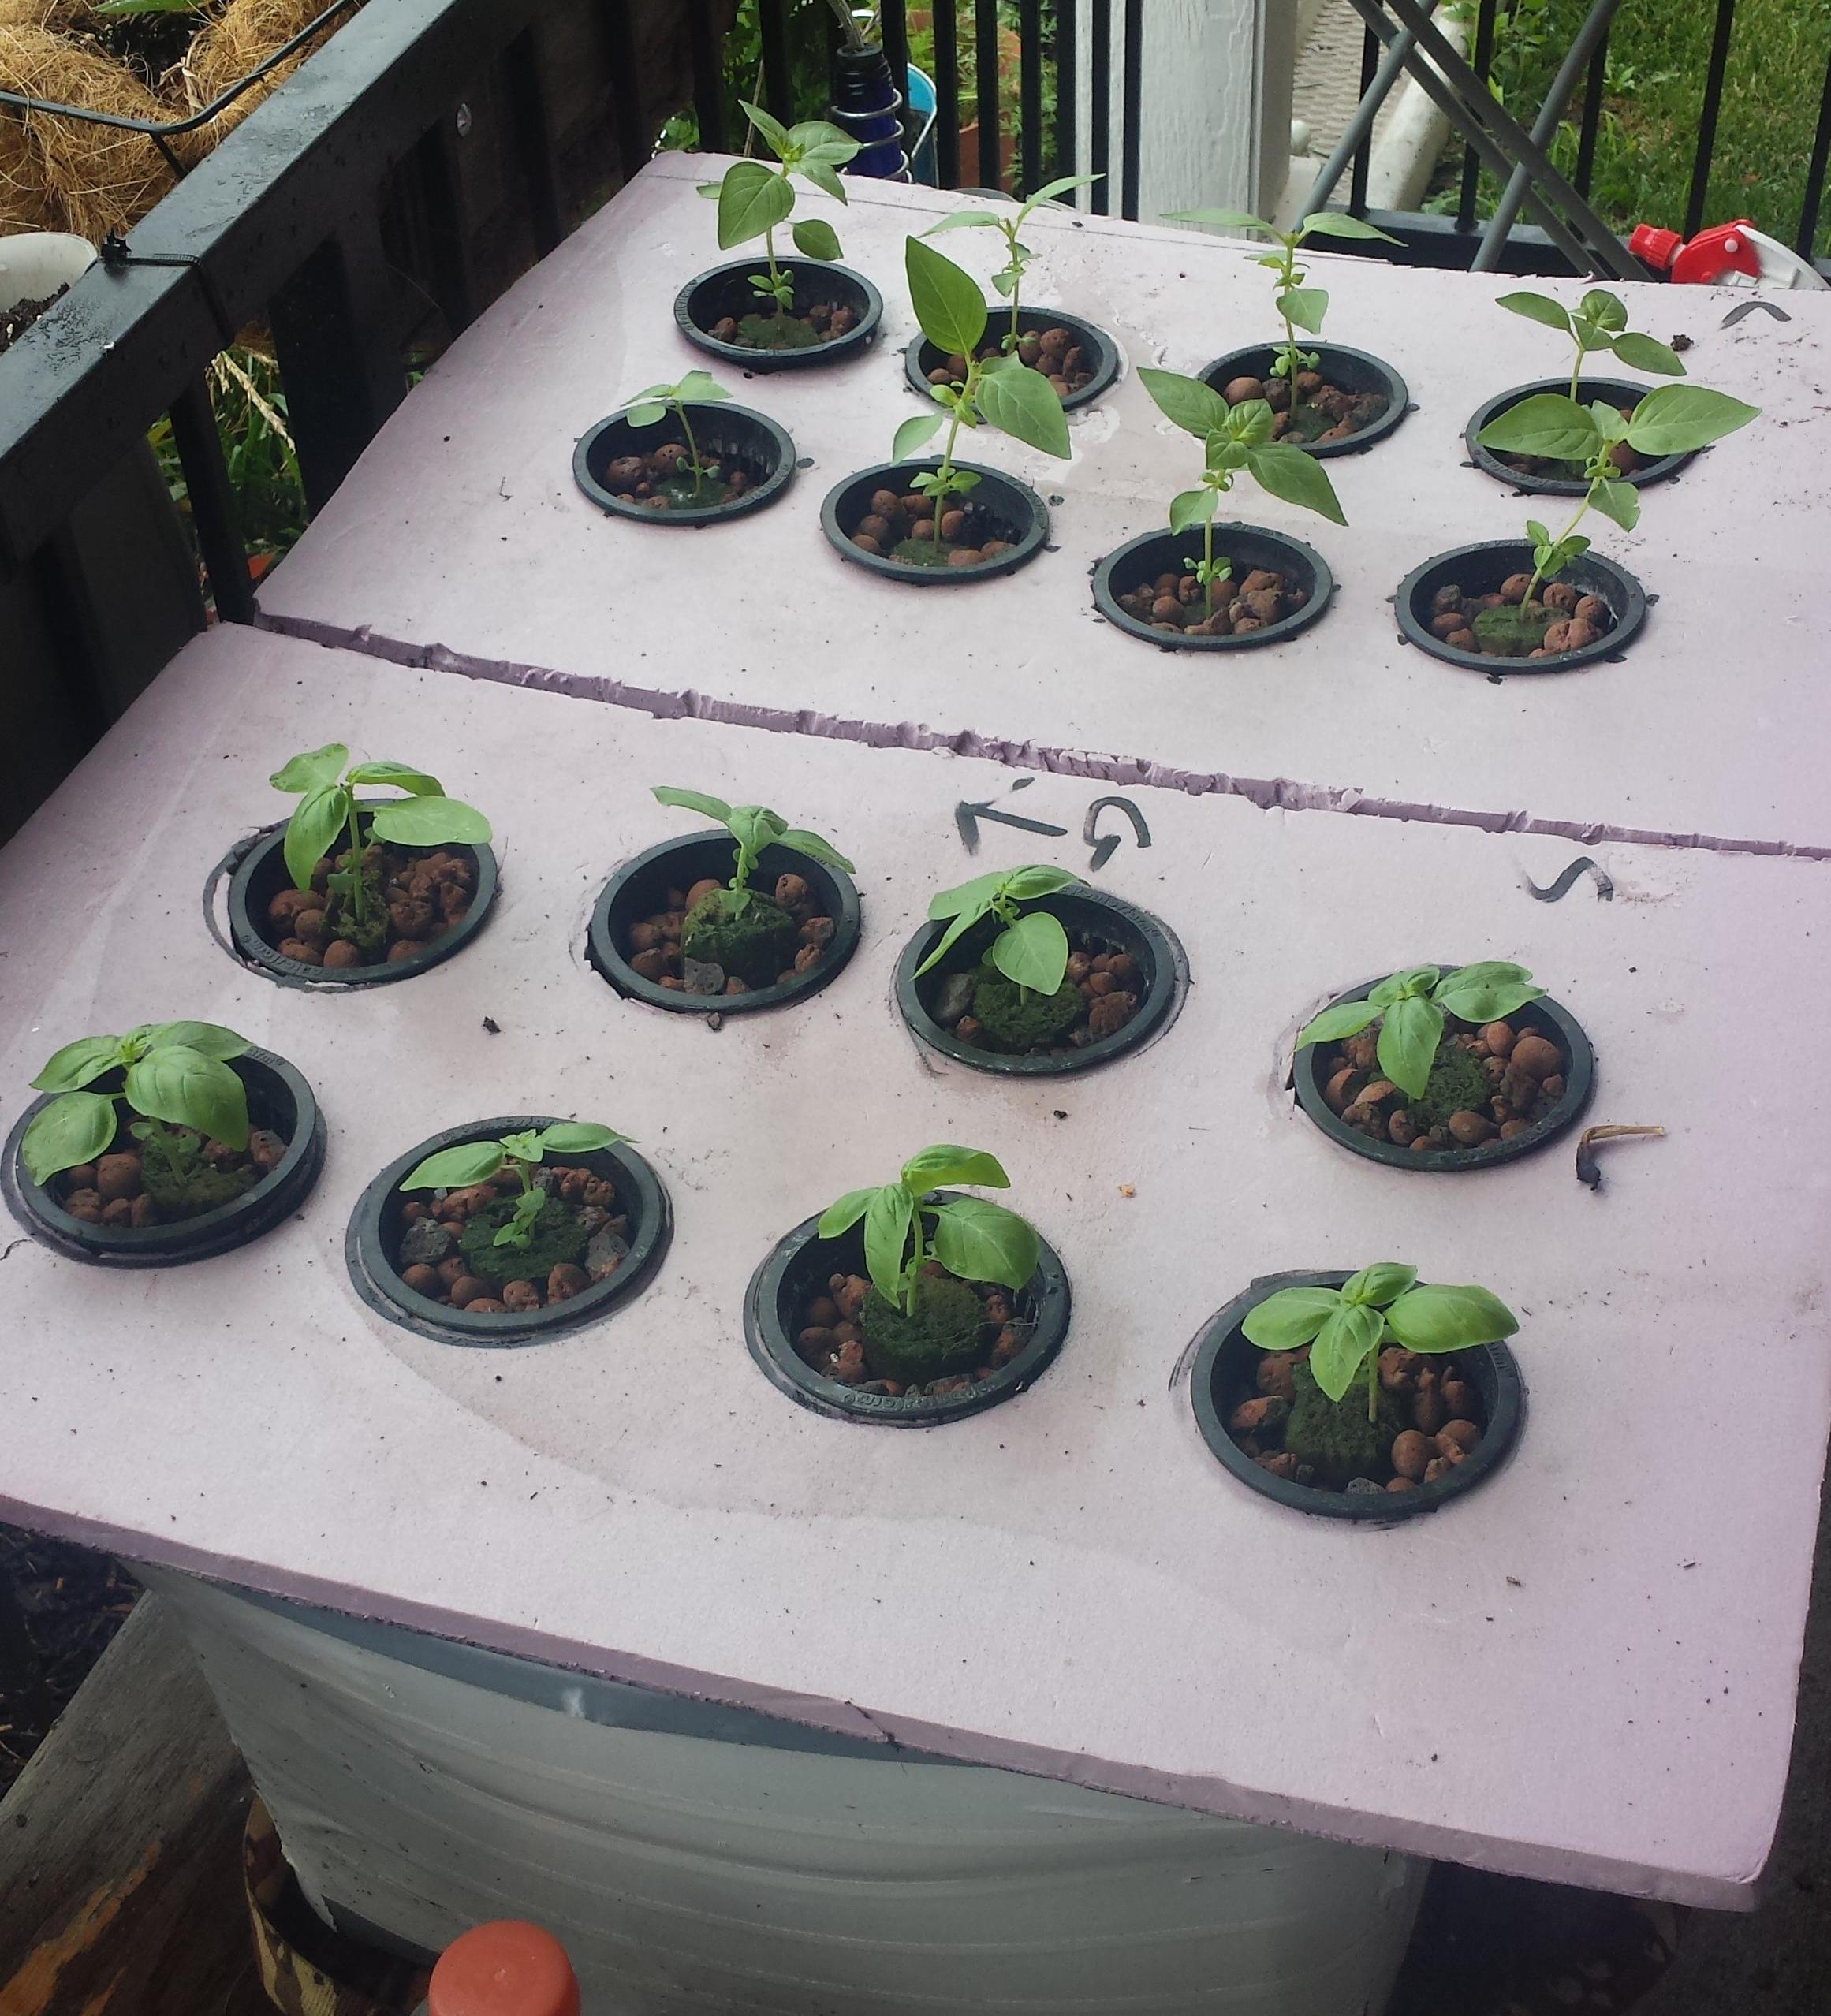
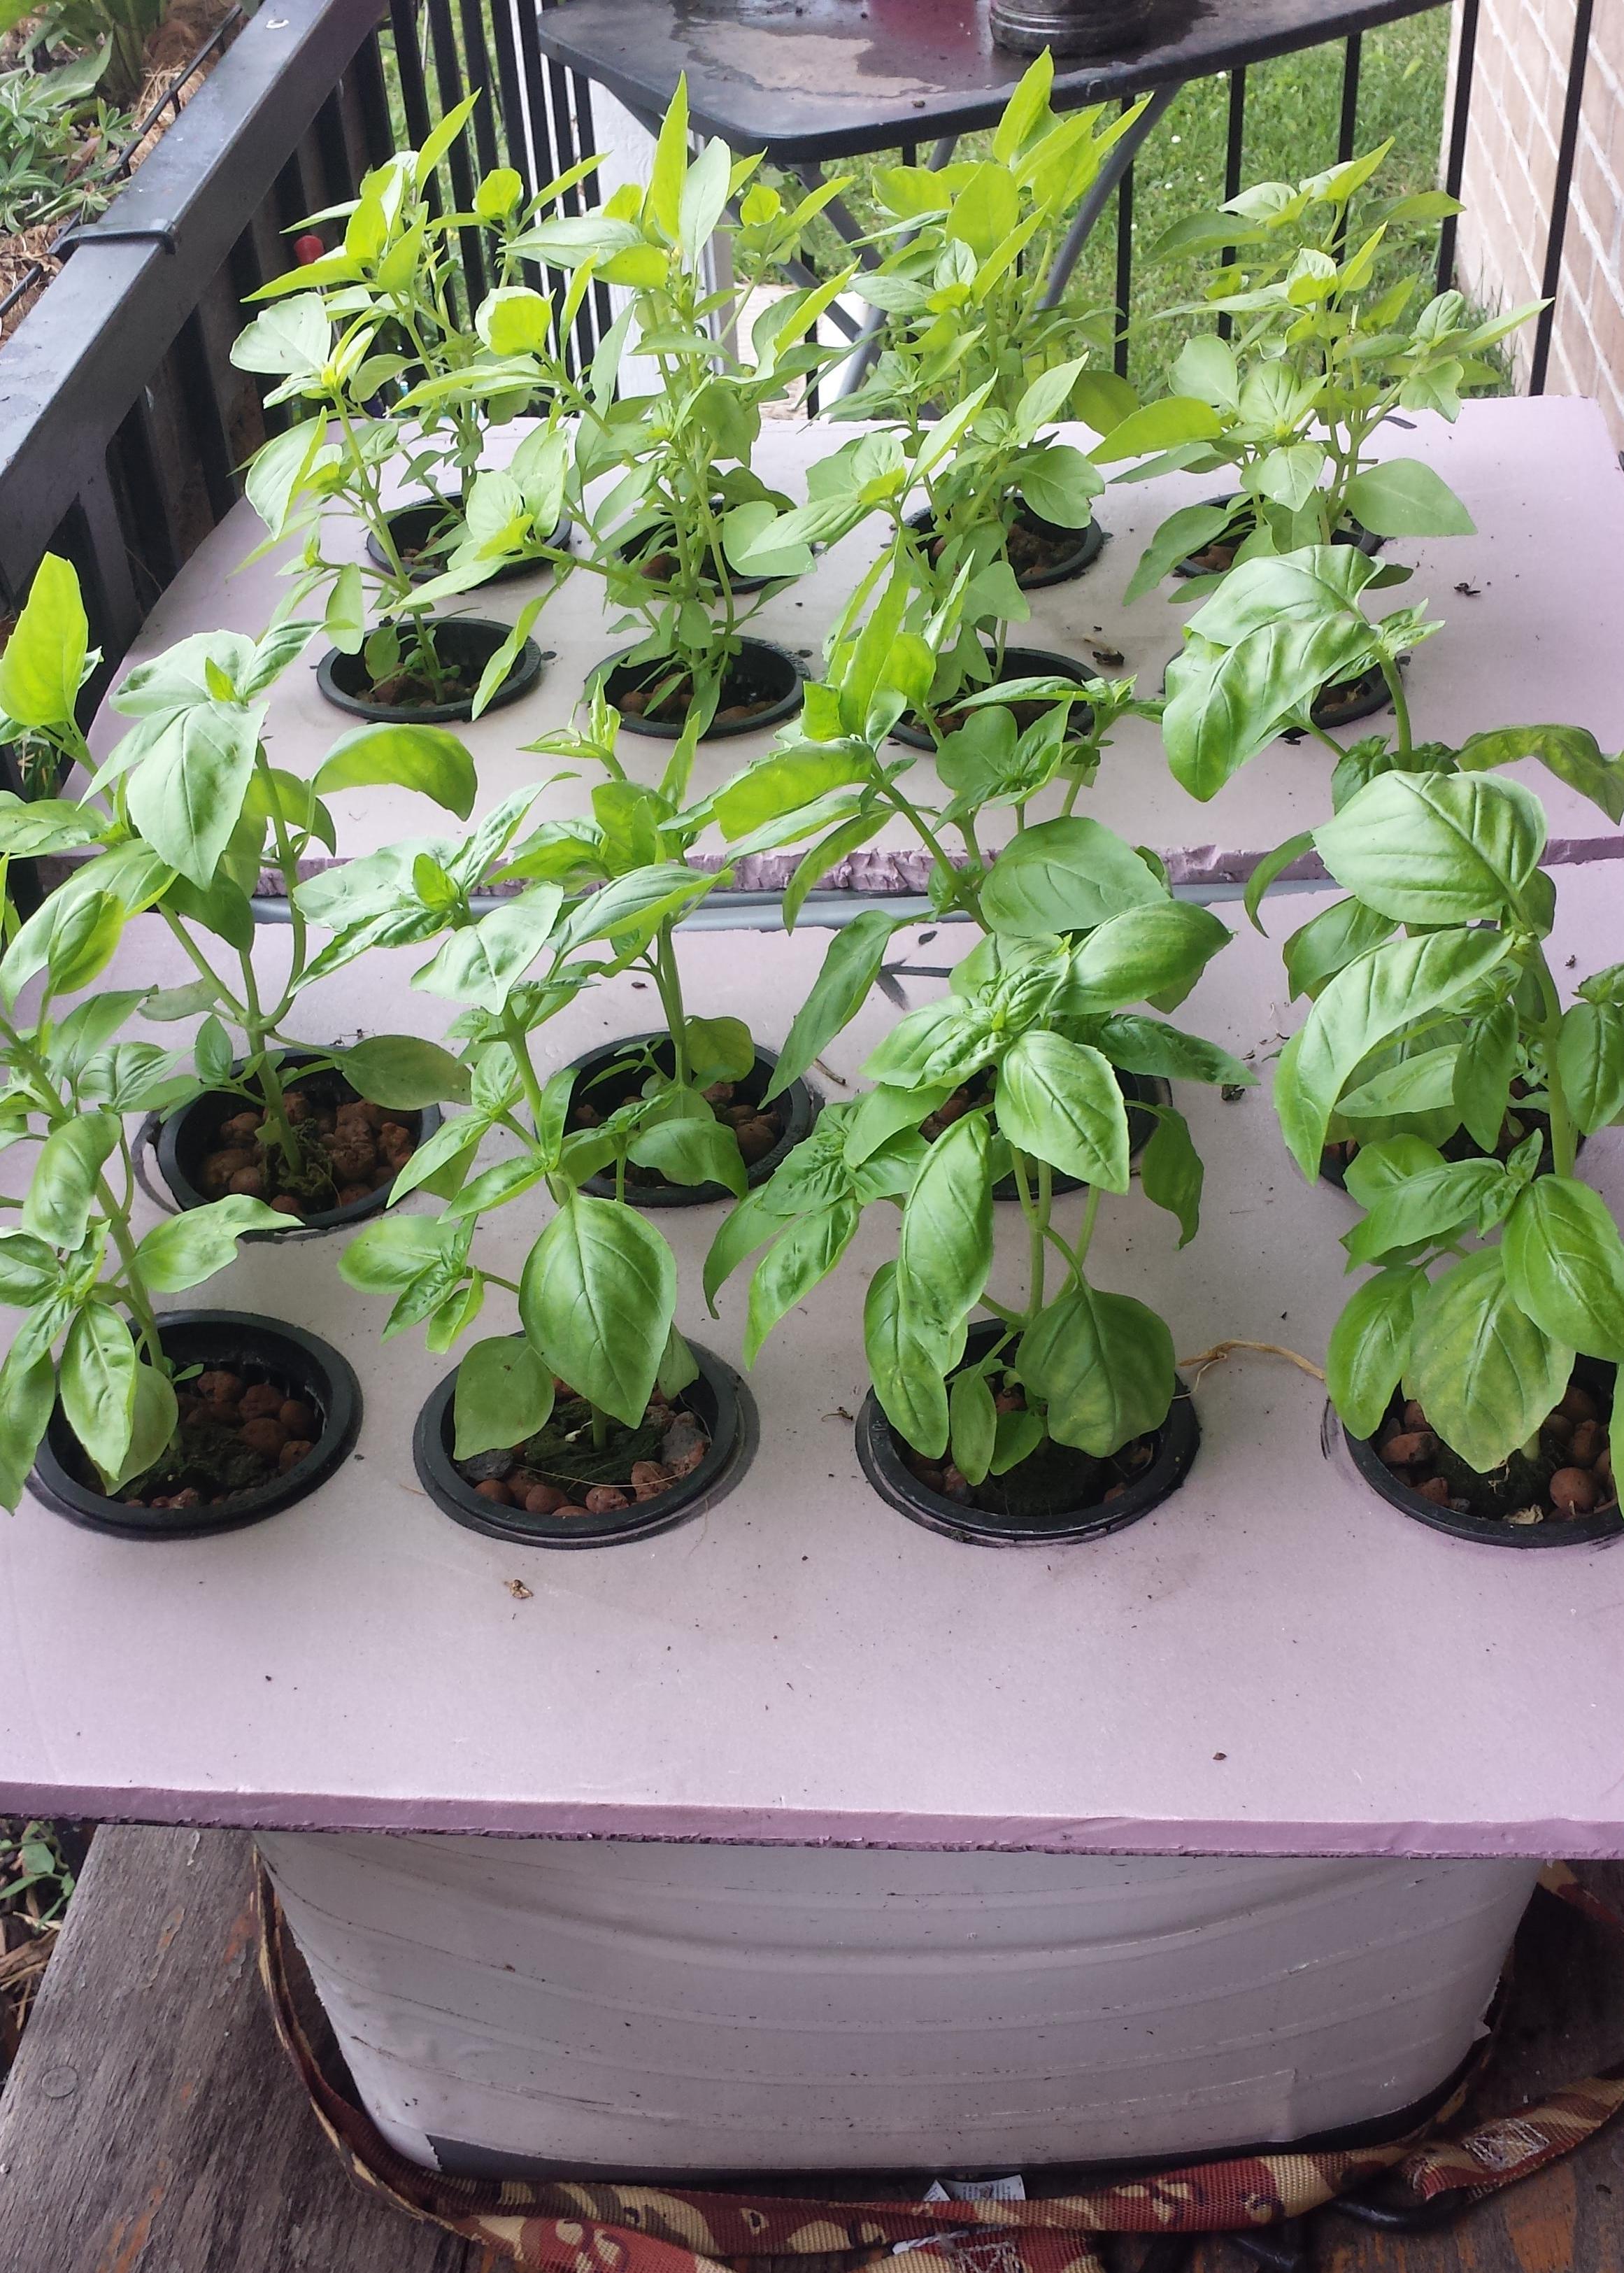
Here's another example of the Kratky Method in action. These were supplied by Reddit user Philosophical7252.
Beginning at day 0, Philosophical7252 used two 10 gallon/45 litre Sterilite tubs for their reservoir, 1/2 inch insulation foam for the lids with eight holes cut out for the net pots, 3-inch net pots, Rockwool macroplugs for the sprouting seeds, and clay pebbles for the inert growing media. The nutrients are Fox Farm Grow Big, Superthrive Vitamin Solution, and seaweed extract.
Philosophical7252 is growing a mixture of Sweet Basil (2), Genovese Basil (6), and Lemon Basil (8). The Sweet and Genovese Basil were germinated in a damp paper towel for three days, and the Lemon Basil were kept in an aquaponics grow bed and sprouted in the clay balls after 2 days. Until sufficient root system growth, Philosophical7252 watered them with a spray bottle from above.

This photo was taken on day 22 of growing. I think you'll agree they're doing well.
This photo was taken on week five of growing. Look at all the tasty, delicious basil.
Have you seen our other Articles on hydroponics?
The Basics Of Hydroponics | The Kratky Method | Types Of Hydroponics | Deep Water Culture | The Drip System | The Wick System | Lighting In Hydroponics | The Ebb And Flow System | Nutrient Film Technique | Nutrients For Plant Growth | Ventilation For Hydroponics | Growing Media Used In Hydroponics | Hydroponics | The Best Way To Cure Root Rot | How To Choose A Grow Tent | The Best LED Grow Lights | Everything You Need To Know About Nutrient Lockout | The Best Air Pumps For Hydroponics | The Best PH Meters For Hydroponics | What Mom Never Told You About The GH Dual Diaphragm Air Pump |
Terms & Conditions
Subscribe
Report
My comments